This page outlines how to build the PLAPad, PLA60, PLA65, PLA75, and PLATKL keyboard kits. Despite them being 'different' boards, the build process is identical. Let's get started!
Step 1: Prepare the plate

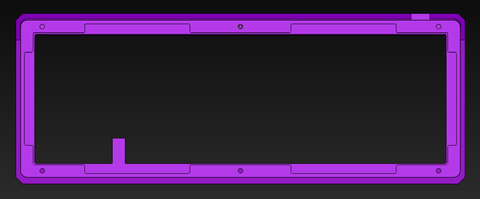
BEFORE YOU CUT: NOTE THAT THE VERTICAL GASKETS ARE A DIFFERENT LENGTH THAN THE HORIZONTAL ONES. If you're a keener that want's to cut them all at once, measure out a horizontal gasket and make 8 total, and 4 vertical ones total. Cut the provided gasket cord to size and remove the backing to get at the sticky side. Try your best to cover the gasket tabs on the plate. You don't have to get it 100% perfect, and it's better to have the gaskets slightly shorter than the tabs rather than too long.

Both sides need the same gasket treatment. This is literally the worst part of the build so good job.
Step 2: Build the plate/pcb/switches/stabs assembly
If this isn't your first rodeo you probably can skip to step 3.
If this is your first build, I'll let this dude show you the ropes (if you've got a solder one, I'll trust you to do some Googles, since you're trusting yourself with a 350C iron.) You can stop watching around the 6:45 mark. This is where you may want to stop and go down the rabbit hole of stabilizer tuning, switch lubing, spring swapping, and all that good stuff to customize the heck out of your board.
Ok, so you've got all your stuff lubed and tuned just right? Sweet. Start putting it together:

Do that like 60-65 times.
Step 3: Final case assembly

(use your imagination and pretend I modelled all the switches and didn't use my 60% PCB model for my 65% case)
Set the PCB/plate/switches/stabs (PPSS from here) in the bottom housing. Take care to make sure the USB-C goes in the cutout.
Now take your top piece and do a quick check to make sure I did my job.
There should be threaded metal nuts in each of the 6 holes (4 for PLAPad), and the threaded portion should be aligned with the hole in the printed part:

If that's all good (it should be, as the board comes screwed together) then let's press on.
Put the top piece on the table as shown in the first picture with the purple top, then put your PPSS and bottom piece on it. Or assemble it right side up and then flip the whole assembly, see if I care.

Take the six screws and Allen key (2.5 mm if you happen to lose it) and get screwing. Do the center ones and then do the corners in an X pattern. Just snug the screws up so that two fingers on the wrench won't turn them. We're not putting an F1 car together, so we don't need to crank the heck out of them.
Once you've got them all snug, give them a one more 1/8th turn and call it good.
Last things last, get those rubber bump-ons stuck on the bottom if you so desire.

Step 4: Add Keycaps and adjust your keymap

Toss some caps on your board and grab VIA. If you're new to this, VIA is this awesome tool that let's you remap your keys on the fly. Back in the old days (and for those who want even more control) we had to bake a new firmware in the command line and flash it on every time we wanted to make changes. Yuck:

This is much more intuitive and user-friendly:

There are lots of guides if you need some help with VIA, so I won't explain here. I highly recommend setting your Caps Lock key as a Momentary Layer 1 (MO(1)), and having your WASD keys set to be arrow keys on Layer 1.
This allows your to have arrow keys on your left hand, using your pinky to hold Caps to access the layer, and away you go with your left hand fingers.
Well that's about it. I hope you enjoy your new PLA board. If you have any recommendations on how to make this guide better, I'm all ears - drop me a line at andy@rndkbd.com